Wereworld: The Werewolf Boss
What this page helps you decide: whether to fight Wereworld the way you fight the elite Werewolf, and what its larger attack range changes about your spacing.
Wereworld is how the official Beastiary spells the boss form of the Werewolf, and the entry is short but pointed. It has the same three moves as the elite - Teleport, Hunt and Roar - a health pool the page describes as fairly low for a boss, and an attack range considerably larger than the elite version's. That combination produces a specific kind of fight: short, if you can survive it, and unforgiving, because the move that kills you has no indicator and now reaches further. It is also one of three bosses the Beastiary never assigns to a map, so where you meet it is not published. This page covers what transfers from the elite fight and what does not.
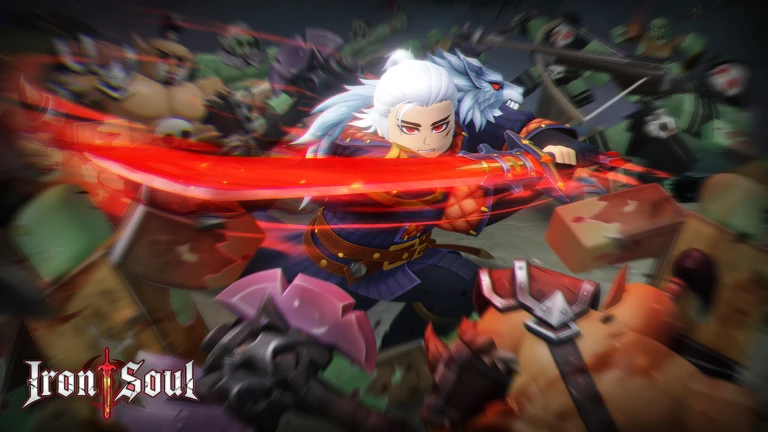
Low health, large range: a boss designed around one mistake
Most bosses in this game are attrition fights. The Golem has a large health pool with modest threat, and the Dragon in Tier 2 can take six minutes if your damage is short. Wereworld inverts that. Its health is described as fairly low for a boss while its attack range is much larger than the elite's, which means the fight is decided in a small number of exchanges rather than over a long grind. That is important for what you bring: sustain matters less here than a single reliable answer to the Hunt, because you will either take that hit or you will not, and the fight will not last long enough for gradual healing to matter.
The spelling, and why we keep it
Wereworld appears exactly once in the whole documentation, in the Beastiary's boss table, describing what is plainly the Werewolf's boss form. It may be a typo for Werewolf and it may be a deliberate name. We keep the source spelling and label the page as the Werewolf boss variant, because changing a name we cannot verify is how a small error propagates: if it is deliberate, a corrected page becomes wrong, and if it is a typo, a page under the source spelling is still findable. This game has several similar cases - Oathlost against Oathless, Gray against Grey, Sickle against Scythe - and the rule we apply throughout is to follow the source and say so.
Which map it is on is not published
The Beastiary assigns bosses to maps for the Orc, Golem and Dragon, and does not for Wereworld, Executioner or Dullahan. It would be easy to guess that those three belong to Oathlost Castle, since the official Tier 3 guide is marked work in progress and Tier 3 is the world with no published boss list. We are not printing that guess as fact, because a guide that presents inference as documentation is exactly what you cannot check. What is published is the moveset, the health description and the range difference, and that is enough to prepare for the fight wherever it happens.
Step-by-Step
- Bring the elite Werewolf plan with you: kill it before any ranged enemy, never side-step its non-basic attacks, and hold a survivability skill or ultimate for the Hunt.
- Widen your spacing. The larger attack range means the distance that was safe against the elite is no longer safe here, and nothing about the tells changes to warn you.
- Use the wall on your left more deliberately, not less. Hunt still circles around your right shoulder to strike from the left, and blocking that path is still described as slowing or interrupting it.
- Expect a shorter fight than the health band suggests for a boss. The Beastiary calls its health pool fairly low, which means the danger is concentrated rather than sustained.
- Do not plan on stunning it. No boss or mini-boss in this game can be stunned, and the elite form is stun-immune too.
- Use Roar the same way as before: it is stationary damage in a mid-range aura, which is the window to deal your own damage from outside it.
Data Tables
| Werewolf (elite) | Wereworld (boss) | |
|---|---|---|
| Moves | Teleport, Hunt, Roar | Teleport, Hunt, Roar - identical |
| Health | High for an elite | Fairly low for a boss |
| Attack range | Baseline | Considerably larger |
| Stunnable | No | No, as with every boss |
| Hunt counter | Wall on your left, survivability skill, ultimate | Same, and more important at the wider range |
Source: official wiki Beastiary, which lists the boss under the spelling Wereworld.
Tips & Notes
- The Hunt has no ground indicator in either form, which makes this one of only two attacks in the game where reaction is not an option and pre-emption is the whole answer.
- Because the health pool is low, an ultimate held for the Hunt is not a wasted damage cooldown - the fight is short enough that surviving the move is worth more than the damage.
- If you have practised the elite Werewolf near walls, you already have the mechanical skill for this fight; only the spacing needs adjusting.
FAQ
What is Wereworld in Iron Soul: Dungeon?
The boss form of the Werewolf, spelled that way in the official Beastiary's boss table. It has the same three moves as the elite, a health pool described as fairly low for a boss, and a considerably larger attack range.
Where do you fight Wereworld?
Not published. The Beastiary assigns maps to the Orc, Golem and Dragon bosses but not to Wereworld, Executioner or Dullahan, and the official Tier 3 guide is unfinished.
Is Wereworld easier than the elite Werewolf?
It has less health but hits from further away. The elite's counters all transfer, but the spacing that was safe against the elite is not safe here, so it is a shorter fight with a smaller margin for error.
Sources
- Official Official Iron Soul Roblox Wiki - Beastiary — The Wereworld boss entry: identical moveset to the elite, fairly low health for a boss, and a much larger attack range. Also the source of the elite's three move descriptions.
- Official Official Iron Soul Roblox Wiki - Guide (Progression) — The Tier 3 section marked work in progress, which is why three bosses have no published map.