Minotaur: Ram Timing and Counter
What this page helps you decide: where the Minotaur sits in your kill order, which is almost always last, and why its high health is not a reason to fear it.
The Minotaur is the clearest example in this game of health and danger being different things. The official Beastiary rates it high health and low danger in the same row, and the reason is in its move list: it has exactly one attack, a ram, and that ram is telegraphed with a ground indicator you can dash out of. It can be stunned, it is melee only, and the Beastiary states you can outrun it at all times. It also appears in groups. Put together, the official recommendation is to leave it until last so you do not spend health trading with something that was never going to catch you. This page explains why that ordering works and what remains unpublished about it.
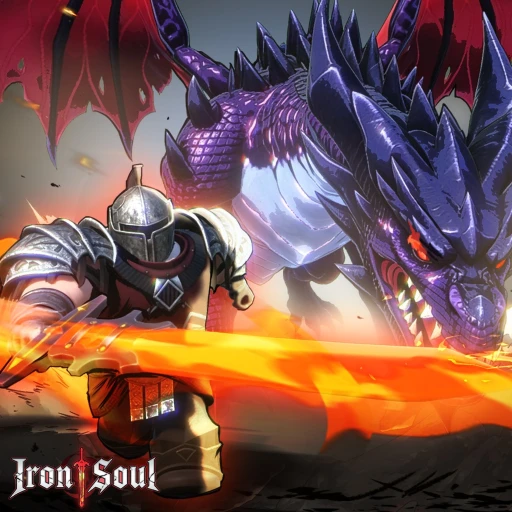
High health, low danger, and what that combination means
Across the eleven elites in the Beastiary, health and danger correlate loosely at best. The Minotaur is high health and low danger. The Dwarf Werewolf is very low health and medium danger. The Cannon Yeti is high health and outright deadly. What the danger rating actually tracks is how hard the enemy is to avoid, not how much damage it can absorb. That distinction is the most useful thing the Beastiary teaches, and the Minotaur is where it is most obvious: a big health bar you can walk away from is a time cost, while a small health bar that closes on you unpredictably is a threat. Kill order should follow danger, not health.
One attack is a short page and a long fight
There is not much to learn here, and that is genuinely the fact rather than a gap in the source. The Beastiary gives it a single named move, the ram, notes the indicator and the dash counter, and moves on. What that means in practice is that a Minotaur fight is a damage-per-second check and nothing else: if you can hit it while circling, you win slowly; if you cannot, you leave. Because it appears in groups, the realistic version is several overlapping rams from different angles, which is the only way this enemy generates pressure. Space out from the group and the attacks arrive one at a time.
What no source publishes
No health number, only the high band. No damage number for the ram. No drop table, since no enemy in this game has a published drop table anywhere. No confirmed map list beyond Starless Forest, where the official guide names it as one of that world's three elites alongside the two goblins. It is also absent from every competing database in any named form: the largest of them groups enemies by map and lists five entries in total, none of which is an individual name. That is worth noting because it means anything you read about Minotaur health values online is currently somebody's estimate.
Step-by-Step
- Put it last in your kill order. The Beastiary recommends saving it precisely so you do not lose health trading with it while faster or ranged enemies are still alive.
- Keep moving rather than fighting from a stand. Since you can outrun it permanently, distance is free, and there is no ranged attack to punish you for taking it.
- Dash when the ram indicator appears. It is telegraphed, meaning a red ground indicator marks the danger area, and dashing is listed as the counter.
- Use a stun if a group has cornered you. It is one of the stunnable elites, so a stun buys you the reposition rather than needing to be a kill setup.
- Fight it near open ground when you can. Its single attack is a straight-line charge, and open space turns that into a predictable pattern rather than a corner trap.
- Expect groups rather than singles, and treat a group of them as a health pool to chew through at your convenience rather than a threat to solve immediately.
Data Tables
| Enemy | Danger | Health | Why the gap |
|---|---|---|---|
| Minotaur | Low | High | Outrunnable at all times, one telegraphed attack |
| Dwarf Werewolf | Medium | Very low | Leaps at you on spawn, arrives in waves |
| Cannon Yeti | Deadly | High | Lethal damage if you stand still, cannot be stunned |
| Vampire | Low | Very low | Teleports, but telegraphs the teleport by spinning |
All ratings from the official Beastiary. The pattern is that danger tracks avoidability rather than durability.
Tips & Notes
- Because it is stunnable and slow, it is a good target for testing what your stun actually does before you need that knowledge against something dangerous.
- Kills drop health pickups, so a group of high-health, low-threat enemies is effectively a health station you can visit when your bar is low.
- The Beastiary's rule to prioritise ranged enemies has exactly one exception, the Werewolf. The Minotaur is at the opposite end of the same ordering: the safest thing to postpone.
FAQ
Can you outrun the Minotaur in Iron Soul: Dungeon?
Yes, at all times according to the official Beastiary. It has no ranged attack, so distance is a complete answer to it rather than a temporary one.
How do you dodge the Minotaur's ram?
Dash. The ram is telegraphed, meaning a red indicator marks the area before it lands, and the Beastiary lists dashing as the counter to it.
Should I kill the Minotaur first?
No. The official recommendation is to leave it until last so you do not trade health with it while more dangerous enemies are alive. It is rated low danger despite having a high health pool.
Sources
- Official Official Iron Soul Roblox Wiki - Beastiary — Low danger with high health, stunnable, the single ram attack with its indicator and dash counter, group spawns and the save-it-for-last advice.
- Official Official Iron Soul Roblox Wiki - Guide (Starless Forest) — Its listing as one of the three Starless Forest elites.
- Community Iron Soul Wiki (ironsoulwiki.com) - Enemies database — The competing database that groups enemies by map and states individual names, mechanics, health and drops need in-game testing.